Cardboard Loom Weaving
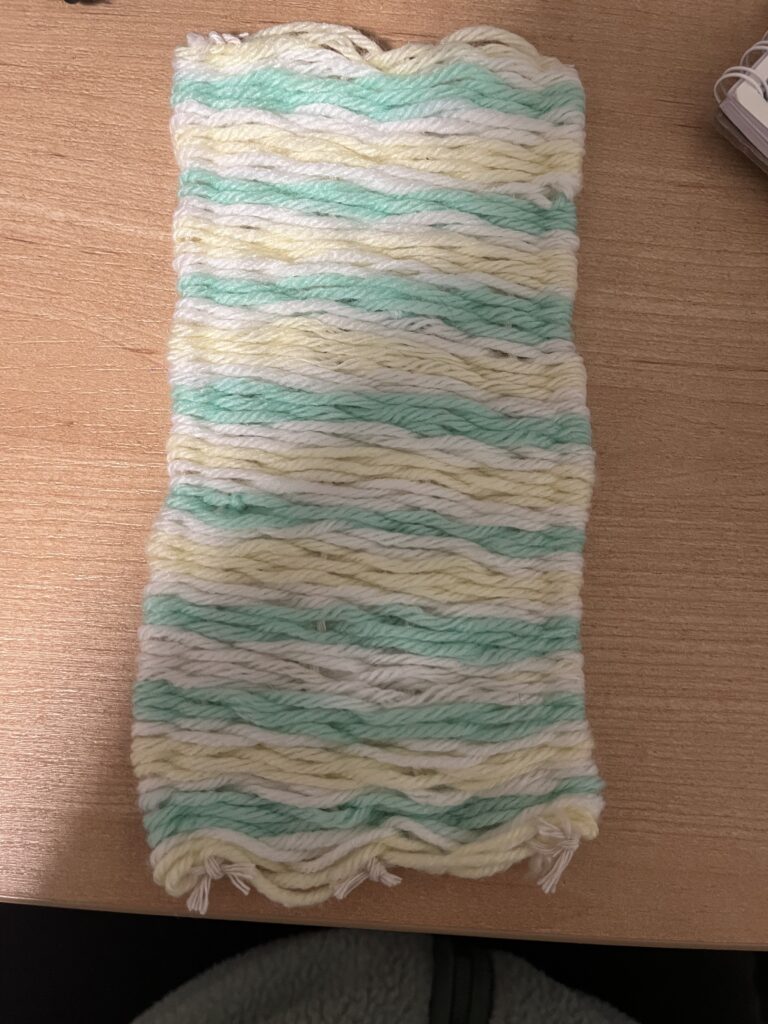
To create this artwork, I first made a loom board using a piece of cardboard. I cut six slits into the cardboard to create space for the warp. After making the slits, I used a thicker piece of string to create the warp, ensuring each strand had the same amount of tension and was pulled tight. Once the warp was set up, I began weaving using the colored string I had chosen. I tied the string to start and then followed the weaving pattern by going over and under each piece of the warp. I continued this process until the weaving reached my desired length. One challenge I faced was making sure each row was tight enough so that there were no gaps in the weaving. To work through this, I often had to go back and adjust my rows to make sure there were no holes in the piece. What I liked about this assignment was that there was a video I could watch and refer back to if I needed support. I also found the process very therapeutic, as I was able to sit down one afternoon and calmly work on my piece. However, I disliked the process of starting the artwork because I wanted everything to be perfect, and since I was completing it at home, I was not completely sure if my loom was set up correctly before beginning the weaving. I titled my artwork Cardboard Loom Weaving. Through creating this piece, I learned that it is possible to make artwork using very limited resources and materials that can easily be found at home. I also realized that this project is simple and inexpensive, making it a great activity for students. If I were to do it again, I would not change anything about my process or final result.